Categories
Blender Stuff by other people that I helped with

I fixed a bug in Blender!

Summary: I found a bug in one of Blender’s Grease Pencil modifiers. In the process of prepping The Best Bug Report Ever, I fixed the bug instead with help and encouragement from Grease Pencil’s module owners. Read on if you’re interested in how Grease Pencil makes its lines thick and thin, how Grease Pencil’s Thickness modifier does the thing, and how my fix works (in Plain English). Big thanks to Antonio Vazquez and Mathias Mendiola for their patience, encouragement and guidance!

I wanted to test Blender’s Grease Pencil system out as an inking tool, because it allows me to go back and edit my lines a bit after I’ve drawn them. If a line is a bit wobbly or it doesn’t curve nicely or the width doesn’t taper properly, I can sculpt it and fix it after I put the line down, even going point by point if need be.

It was while I was wrestling with ways to adjust particularly lumpy stroke width with the Thickness modifier that I discovered a bug.

The bug and its habitat

The Thickness modifier for Blender’s Grease Pencil adjusts the thickness of Grease Pencil strokes. The Thickness modifier has a Normalize mode which sets the entire stroke to an even width.

Under the hood, “thickness” is a property of the strokes themselves. The strokes are made up of a series of points, and each point has a “pressure” value – the pressure of the graphics tablet for that point. Stroke thickness times point pressure determines the width of the stroke at that point.

Normalize works by setting the thickness for the stroke to whatever the modifier says it should be, then it sets the pressure for all its points to 1.0 – exactly the same pressure on each point means the width of the line becomes even. You can select a particular Vertex Group or Grease Pencil Layer in Normalize mode to target particular strokes and points for evening up while leaving the rest alone… or at least, that’s how it should have worked.

The bug was that the modifier was changing the width of all the strokes whether they had points in that vertex group or not. The effects of a modifier are not meant to leak like that.

I found Grease Pencil expert user Mathias Mendiola on blender.chat – he created the Grease Pencil Fundamentals course on Blender Cloud. He asked me to report a bug.

The best bug report ever

Now, reporting a bug to a fellow developer is not something I take lightly and I wanted to do it properly as a courtesy.

A good bug report should do the following:

  • reports a bug which hasn’t already been reported (let alone fixed), saving coders more administrative work
  • describes the problem clearly, concisely and precisely (less room for misinterpretation)
  • describes the environment and context the problem occurs in (which version of the software, e.g. stable or build hash on splash screen; which operating system, CPU and graphics card, etc)
  • describes expectations of what should happen (maybe the user’s expectations are not what developers expect them to be)
  • gives explicit instructions on how to replicate the bug with as few steps as possible, or alternatively provides data which shows the bug occurring

That last bit – how to replicate the bug – is super important. If the coder can’t replicate the bug, it’s much more difficult to fix it. If the coder is obliged to fix the bug anyway, they may have to spend a significant amount of time devising their own replication which may or may not be the same as what the user does when they trigger the bug, and even if it’s the same thing the user is doing it’s still time the coder has to spend pinpointing the source of the bug. Reproducing information which a user already knows (but hasn’t passed on) is not a good use of a coder’s time.

Since I’m a programmer myself and I build Blender from source, I wanted my bug report to go further than just instructions on how to replicate the bug – although I’d do that too. Once a coder confirms the bug is there and accepts it, the next step involves finding the bit of code that’s going wrong. I decided to find that bit of code as an exercise and to be extra helpful – one less thing for the coder to do.

Tracking down the bug

I poked around Visual Studio and eventually found the code inside source/blender/bf_gpencil_modifiers/MOD_gpencilthick.c. The function which contains the procedure for the Thickness modifier to modify thickness is called deformStroke.

By now, I wanted to pry even further and figure out what deformStroke was doing wrong so that I could even quote a particular line number in the bug report – again, one less thing for the coder to do. After hours of squinting, I figured out that even with Vertex Groups switched on, deformStroke was changing the thickness of the strokes whether they had points in the vertex group or not. That was fine if the whole stroke was getting normalised, but not if the stroke had some but not all points in the vertex group, or no points at all.. hmm..

Since I was on holidays and had no obligation to be awake and ready for work the next day, and I had Visual Studio open anyway, I decided to have a crack at fixing it myself – without any expectations of success or failure. If I couldn’t fix it, at least I put what I’d already tried in the bug report. Yet again, one less thing for the coder to do.

Failing to report the bug

After a few more hours of tinkering, headscratching, reading code, compiling, swearing and recompiling, I didn’t have a bug report – I had a fix for the bug. It was only a partial fix – for cases where a stroke has a mixture of affected and unaffected points, my original patch left that stroke alone – but in Normalize mode, the modifier had stopped affecting points and strokes outside the Vertex Group and that’s what I wanted it to do.

The fix

My change was to make the function scan over each point in the stroke. When it finds a point within the vertex group, it changes a variable called gps_has_affected_points from FALSE to TRUE. (gps stands for “Grease Pencil stroke”.) When it finds a point outside the vertex group, it sets another variable called gps_has_unaffected_points from FALSE to TRUE. Once both of these are set to TRUE, it stops scanning – neither of them can go back to being false.

What comes next depends on whether one or both of those variables are TRUE or FALSE.

If the stroke doesn’t have any unaffected points (
gps_has_affected_points is TRUE and
gps_has_unaffected_points remains FALSE), it’s safe to normalise the stroke by changing its the width and set all the points to 1.0. If it had both affected and unaffected points (both variables TRUE), originally I skipped handling it. (I tried to experimentally iterate a formula but then gave up and coded around it.) I left the code factored in such a way so that if need be, someone who knew the Grease Pencil system better than me could add the unhandled case in with the right maths. Something an expert coder could do in a second, probably.

I submitted patch D5483 at developer.blender.org at around 2:00am my time. Then I went to bed.

Getting the fix accepted

Now, submitting a patch doesn’t mean there was nothing for the coders to do, only that they had a code submission which fixes a bug. But was it readable code? Was it efficient code? Did it follow the appropriate formatting standards? Did the code change cover everything it needed to cover without introducing any regressions? For a module owner to accept code, it means they accept responsibility for what the code does and how it does it.

The next day, Grease Pencil module owner Antonio Vazquez had reviewed my patch. He thanked me for the code and encouraged me to handle the partially affected stroke case. I agreed it shouldn’t be left half done and did not make excuses that I was too tired to want to finish it all in one hit, and that it would be better for users if it didn’t just ignore certain cases (which were too hard for me to work out at two o’clock in the morning).

I spent a couple of extra hours on Friday reading other bits of Grease Pencil code to figure out the maths to convert stroke thickness to point pressure given a particular stroke thickness. After having no luck tracing through the code with Visual Studio for an answer, I did a brute force text search for where “thickness” and “pressure” occurred on the same line. It turned out to be simple algebra – target stroke thickness (from the modifier) divided by current stroke thickness results in the right pressure value.

Easy maths, right? Kind of.

Fun with numbers, C style

I knew enough about C to know it’s quite particular about the way it represents particular kinds of number. For instance, point pressure is a floating point (fractional) number and stroke thickness is an integer (whole number). If you divide two integers in C, you don’t get the remainder back. So if you want the remainder (which I did), you need to cast (convert) the integers to a floating point number instead. Then you can divide them to get a point pressure. (This converting may seem like a massive pain in the arse, and friendlier higher-level languages are happy to do those conversions under the hood, but the trade-off is that C runs at speeds which leave higher-level languages in the dust by comparison.)

I got the partial stroke normalisation case working on Friday evening and submitted an updated patch.

Antonio’s follow-up review on Saturday noted that Blender doesn’t do same-line comments, but that he was OK with the code of the patch. He added an extra line to clamp the width to a safe minimum – something an expert coder would know to do – and committed my updated patch to Blender’s master branch as a bugfix on Saturday.

My first Blender commit

The commit hash for my fix is a477c2e0e079 and I’m listed as the contributor. It’s not the first commit I’ve been named in (I helped fix a build bug a little while ago) but it’s the first commit where I’ve written actual code to fix something and been identified as a contributor. Yay!

Fixing that bug took me about six and a half hours, give or take. Much of that time was spent reading through unfamiliar code in a language I haven’t used before. And even if it was a small obscure bug, something very few people would notice or care about that much, it’s fun to see my name come up in Blender’s commit logs and nice to know I helped Blender work a little better than it did before.
Categories
A moment in the sun Blender Modular synthesisers

November 2018 recap

That was November! California was on fire and Queensland is now also on fire. Also there was a giant cow called Knickers and Blender 2.80 finally went into beta.

In summary…

  • I’ve been recovering from having my gall bladder removed
  • I released some sleep-aiding whooshy noises on Bandcamp
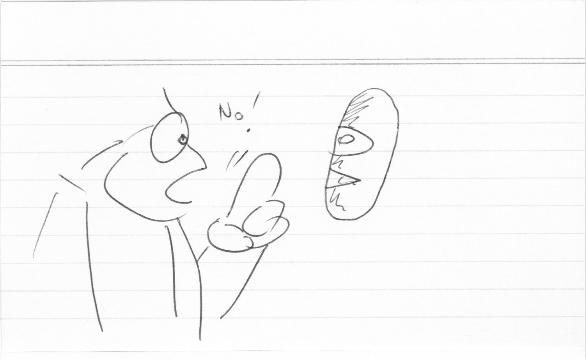
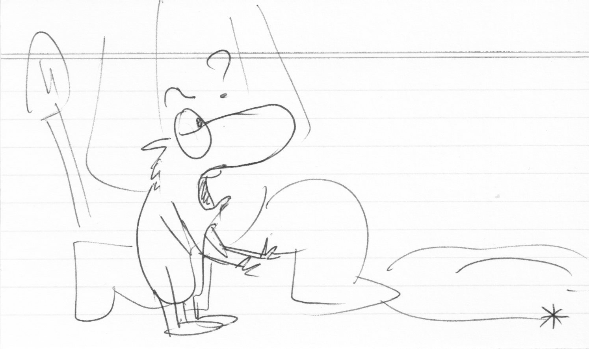
  • AMITS: Hello! got a first pass of storyboards on index cards
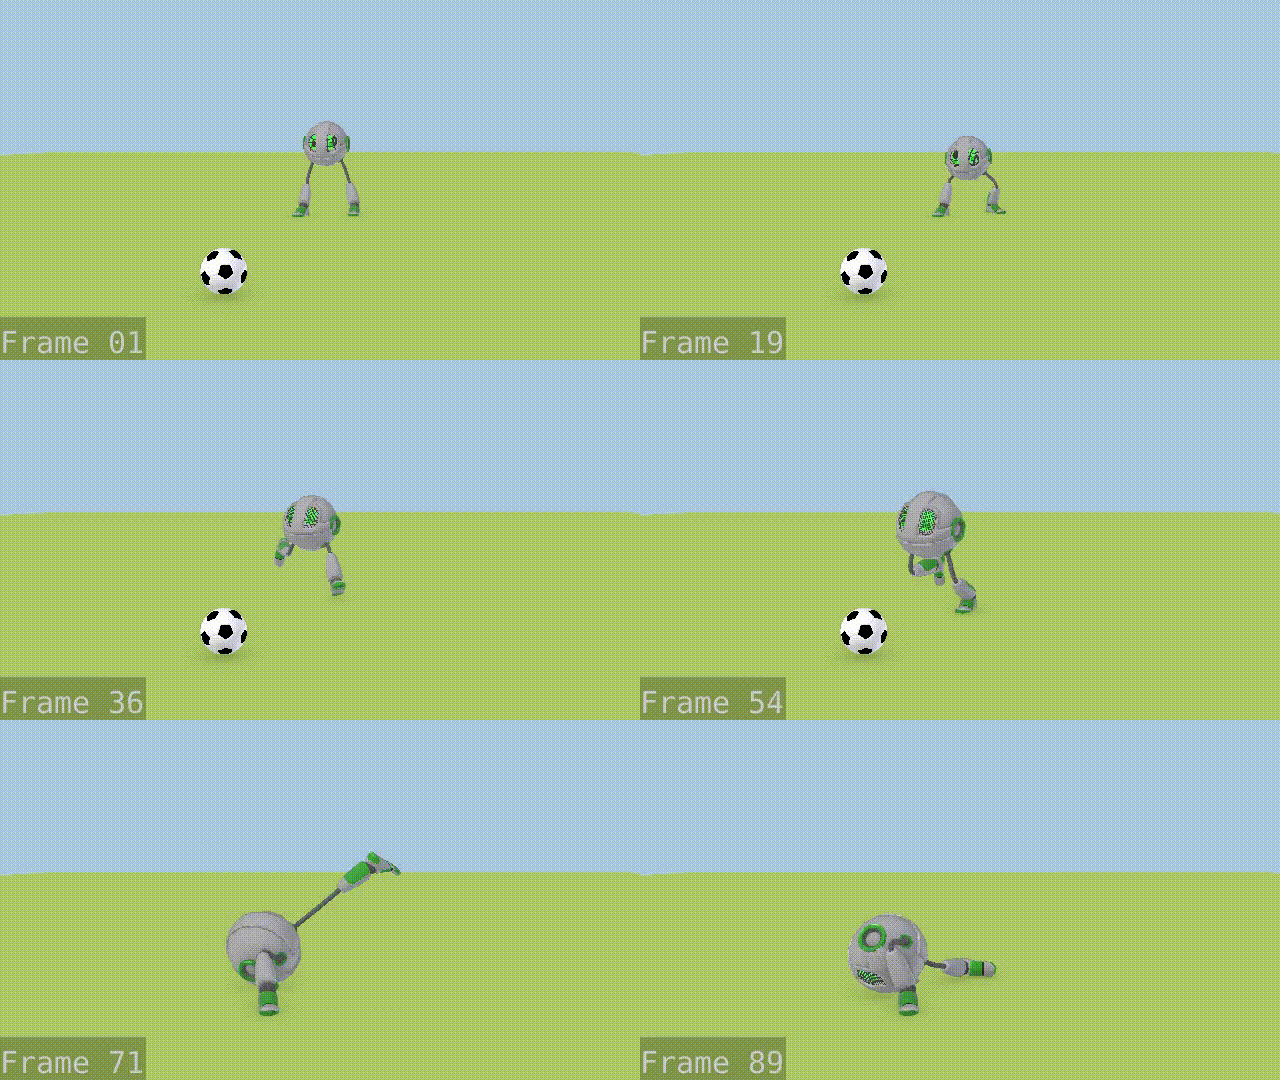
  • The robot has not kicked the soccer ball yet.
  • I helped out with a compilation error in Blender
  • I’m learning Japanese!

Please read on for specifics…

Surgery!

I had my gall bladder out at the end of October and I’ve been in recovery mode since. Fronting up to work in tracksuit pants is fun.

The gall bladder recovery meant roughly a week of not being able to sit up without extreme discomfort – I was either lying in bed or standing up. I watched a lot of movies, including the restoration of Abel Gance’s epic 5 1/2 hour silent film “Napoleon”. Honestly I don’t remember a lot about those two weeks aside from that they were slow and full of nourishing home-made stew. I blame the anaesthetic.

My top tips for people about to have a laparoscopic cholecystectomy (keyhole gallbladder removal):

  • Stock up on oversized t-shirts and soft pants with drawstrings.
  • Work on your upper body strength and leg strength, especially squats. It will hurt like hell to bend over for a week or two.
  • Take a book to hospital which is capable of distracting you. I took “Fear and Loathing in Las Vegas” and it was a perfect companion for walking off the CO2 bubbles.
  • Don’t plan on sitting up at a table or desk for a while after surgery. For me it was about a week and a half before sitting at a desk for longer than a few minutes was comfortable. Even four weeks later I’m taking extra doses of painkillers to manage the discomfort.
  • It hurts to laugh for a week or so. Aim for viewing material which is fascinating enough to pass the time without being laugh-out-loud funny.

Noises to sleep to

I live near a main road so having a neutral sound playing helps me sleep. I’ve been using a white noise app for years but lately my Bluetooth has been cutting out. Even worse, when it cuts out it cheerfully announces that it’s in pairing mode. Bah.

Fortunately the speakers can take audio over cables too, but my phone’s headphone jack doesn’t really grip anymore. Double bah!

Not to be defeated, I’ve patched up my modular synth to function as a white noise machine. There’s a video on the way going through the patch for the curious. I’ll update the blog post with a link once I’ve cut it together and uploaded it.

If you find yourself needing whooshy noises yourself, you can grab a 36-minute recording of these whooshy noises for a whole fifty cents over at Bandcamp. I’d offer it free but frankly I need to pay for this modular synth somehow.

A moment in the sun

In short: it’s on again!

Back on 8 November I finished up the first pass of rough storyboards for AMITS: Hello!

https://twitter.com/quollism/status/1060465349856976896

There are over seventy index cards – I used actual physical index cards because I could hold them in my hand as I was drawing them without needing to sit down. Sitting down hurt a lot at the time because I was full of holes.

Gronky lays down the law

Pointy has a moan with his new cuter look

Working smarter, not harder

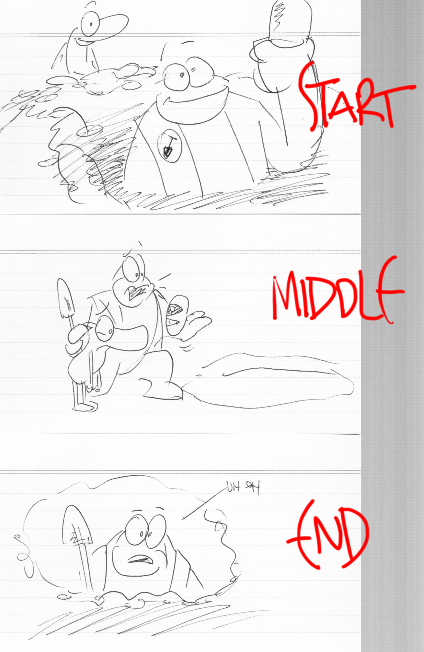
Today I scanned in the index cards three at a time with a different chunk of the storyboard running at the top, middle and bottom. The Blender video sequence editor lets me crop video elements, so the idea was to run the sequence of scanned images three times with a different crop for each repetition.

Start at the top, middle in the middle, end at the bottom..

You can watch the entire sequence of scans below. The index cards are even thick enough to maintain their registration – at least, it’s close enough for rough storyboarding purposes.

If you can follow this after it loads, you’re an alien.

Batching the images up this way makes digitisation super quick – after half an hour of scanning and getting the right crop values, I have individual images of my index cards. Now I can import the images back into the video sequence editor and time them out to my audio scratch to see what I’ve got. Yay!

But has the robot kicked the ball yet?

Not really. I loaded the file up one night with no intention but to mess around and got a nice twisting faceplant happening in blocking. (Note: the first part of this isn’t timed out properly yet.)

This is how I feel about this exercise now.

Time away from animating has helped me realise something hugely important about where I’m going wrong: I’ve been taking reference pretty much as gospel instead of using it as a leaping-off point for my own ideas. It’s been screwing my creative process up a lot and it’s a thinking pattern I really must fix…

Other stuff

I helped troubleshoot a Blender compilation bug. It’s not much but I’m pleased to have found a temporary workaround nonetheless. 🙂

Between following sumo and getting back into Japanese animation, I find myself with a mighty strong urge to learn Japanese again. I’m trying out the site WaniKani to boost my vocabulary. So far WK is both challenging, aggravating and rewarding enough that I’m hooked.

That’s all for this month!

Categories
Blender Journals Stuff I made

There goes May 2018

Summary: I made an animation tools plug-in for Blender 2.8 and I’m still working through body mechanics and lip sync animation courses for now.

Hello from May 2018. This month, Blender Animation Studio packed up and moved to the new HQ in Amsterdam North and to my south Margaret River tragically became famous for something other than surfing. The Hawai’ian volcano Kilauea started tearing up its neighbours and there was some royal wedding that people made a fuss about. And oh that torrent of never-ending GDPR emails, many from companies we look forward to never hearing a peep out of again..

Personally I spent most of the month battling one illness or another as the cold started settling in here.

There was a little pear animation I made. It uses shape keys and the Laplacian Deform modifier. Here’s the .blend file if you want a closer look. It was made for Blender 2.79a but it’s munty in the current 2.8 preview.

Speaking of Blender 2.8, I set up a Windows build environment this month when Blender’s nightly builds stopped during their office move. If you’ve ever wanted to try out unbuilt branches (like greasepencil-object) or code changes as they get committed, this is not super difficult to do and absolutely worth it!

I even did a little coding myself. Now that armature-driven animation is possible in Blender 2.8 again, I wrote a little add-on to put back the old 2.7-series keyframing tools on the toolbar exactly how they were before.

And of course there’s the fun of loading up old files in the 2.8 preview to see how well they work. Here’s an abandoned animation test from A moment in the sun rendered in 2.8’s Eevee renderer (currently a work-in-progress). None of the materials have been tweaked to work in Eevee – it’s doing a pretty good job reproducing the Cycles materials, I reckon!


I kept going with the Animation Body Mechanics course. I submitted this polished jump for exercise 2. (Character rig is from CG Cookie.)


It only had to be a simple jump across a gap, but I got fancy – that’s how this four seconds of animation is the end result of nearly 26 hours of blocking, splining and polishing over an entire month.

I’ve been encouraged to stick closer to the assigned work in future without creating momentum-crippling challenges for myself. I think this is sound advice. 🙂

For something a little easier, I started the Demystifying Lip Sync Animation course too. My linguistics training helps me get good mouth shapes at speed. Here’s my submission for exercise 2 of the course. (Character and sound from CG Cookie.)


That’s it for now. Thanks for reading and I hope you have a great June. 🙂

Categories
A moment in the sun Blender Journals Modular synthesisers Music & Synthesisers RYGCBMKâ—¯ Stuff I made

What I did in 2017

2017 was a rough year for me and seemingly a lot of other people. Here’s a recap of what I got up to.

Back in April I made RYGCBMKâ—¯, a project which was weirdly central to a lot of what I got up to this year. Here it is if you want a refresher.

I’d wanted to try an abstract short set to music since I went to the Melbourne International Animation Festival in 2015. RYGCBMKâ—¯ was my driver to learn procedural animation with Jacques Lucke’s powerful Animation Nodes system for Blender. I specifically wanted to synchronise abstract animation to a rhythm because I love that kind of synaesthetic stuff and I knew it would keep me going through an emotionally brutal bit of the year.

The end result was not perfect, but I got a high enough average score during the voting process for the Suzanne Awards 2017 to encourage me to try some more in the future. The important part was that there was an end result to speak of. It got done.

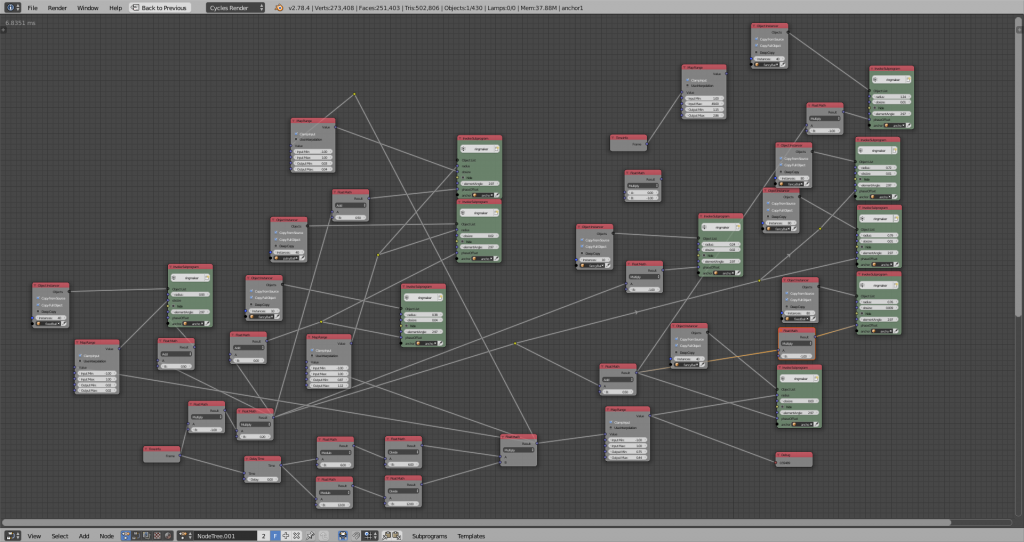
And it got done.. with nodes!

Working on RYGCBMKâ—¯ also helped me tune into my artistic sensibilities. Given just shapes and sound to play with, the project took me away from complicated stuff like characters and dialogue to something which let me get a strong feel for the kind of work I want to put into the world.

I made important if not voluminous progress with “A moment in the sun” in its third year of development. I put together a new story reel in January and February, and a short stretch of that is good to go as is even with the big rewrite in May. Flipping Pointy from irascible and foolish to geeking-out cute was a decision that very much happened in the wake of RYGCBMKâ—¯ too.

There was that secret project I can’t show off yet which happened in October-November. Here’s a concept which we abandoned.

The one we actually went with is way cooler.

I learnt Retopoflow this year as well – anyone doing modelling in Blender should grab it. Hard Ops is next on my list of useful plugins to get to grips with.

There was of course AAAAAAAAAAAAAAAAAAAAAAAA which started strong but fizzled. AMITS now has a sweet cockatoo. Here’s AAAAAAAAAAA’s final resting point.

And then there was my first run at Inktober. I started practising with my brush pen and now my inking’s gone from “rubbish” to “slightly-less-rubbish”. This snail got the most likes on Instagram.

https://www.instagram.com/p/Bajv5AbFyt5/?taken-by=quollism

There wasn’t that much time for art or animation though. RYGCBMKâ—¯’s soundtrack was part of a big jump back into music for me, something I did because I wanted a creative outlet but job stress was (temporarily) making the animation hobby unthinkable. Then it took over.

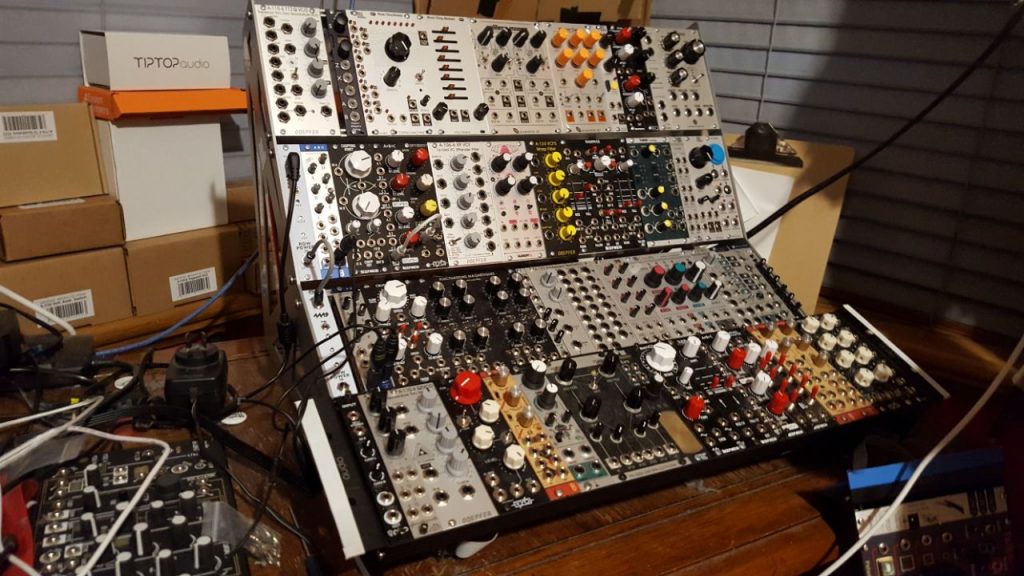
Just over eleven months after I impulse-bought that ARP Odyssey back in January as a shiny new toy to keep myself distracted, I’m now the owner of a 475HP Eurorack modular synthesiser which I mostly soldered together myself. I don’t need to look at a computer screen to make electronic music anymore (though the PC does come in very handy for recording) and the sound is even produced by old-school electronic components instead of simulated versions thereof. In playing around with it I’ve learnt a lot about how to patch and which modules are for what, but no doubt I’ve only just scratched the surface of what this thing can do.

To me DASYRAC looks sad and naked and unfulfilled without patch cables, but at least this way you can see the actual modules.

This krautrocky jam from early December is one of my favourite tracks I did this year.

https://soundcloud.com/quollism/2002-plus-15-rch196

I didn’t even know how to solder before I started putting DASYRAC together, but I noticed the kit builds were a lot cheaper so I gave it a try. Now I’m actually happier owning synthesiser modules which I put together myself than modules I bought pre-made, because I’m comfortable fixing my own work when it breaks. Most times when I sit down to prod a busted circuit with a multimeter and pore over a circuit schematic, I learn something new and interesting.

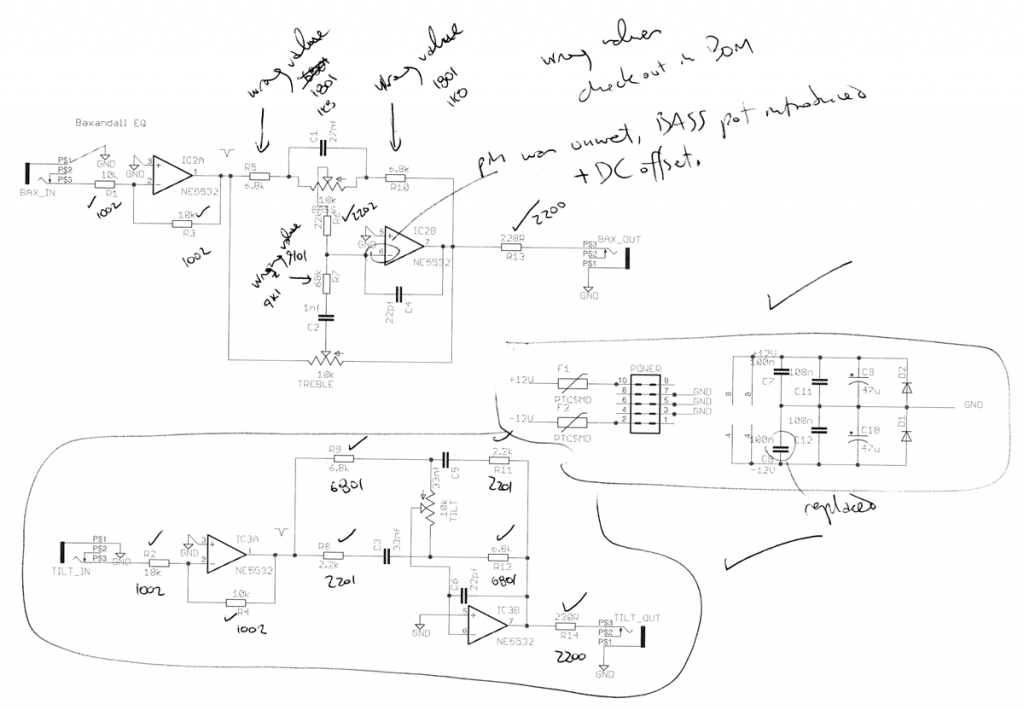
This is the schematic for Music Thing Modular’s Simple EQ with my troubleshooting notes. Looks like I forgot to solder one of the pins on an op amp.

So that’s what I learnt and did in 2017. (Mostly synthesiser stuff, to be honest.) This is what I’m taking away from all that for 2018 and beyond.

In terms of the modular synthesiser and music stuff, the build is almost complete. Once that’s done it’s all about learning my gear better and maybe getting some tunes released on Bandcamp. There’s one or two easy modules I want to have a crack at building for myself too, but that’ll need a little bit of extra equipment – it can wait.

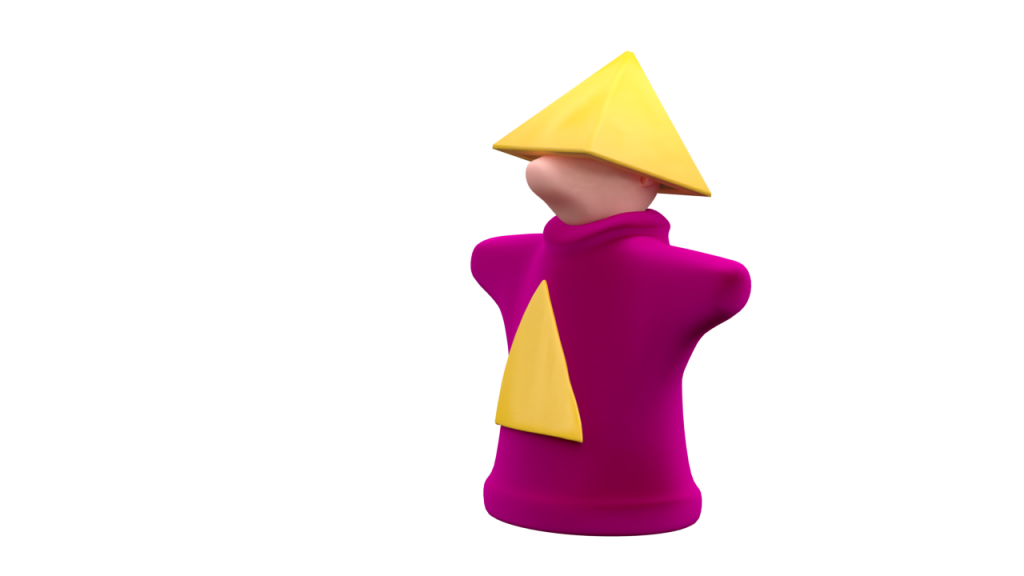
A pyramid monk from AAAAAAAAAAAAAAAA.

In terms of Blender stuff, I want to jump into some short, focussed and contained exercises – animation, modelling, or otherwise. If it’s animation, I source the soundtrack and character rigs from somewhere else. If it’s modelling, I source a design from somewhere else. I go with pre-made assets wherever possible. The key is not giving myself too broad a set of creative decisions to make at once so that I don’t get lost.

By pushing beyond my own creative sphere and not trying to do all the things, it’ll save me time, help me focus on specific tasks, broader my artistic horizons, get me analysing work by other people and build up my confidence and patience again with some experience. With less to do, I can hopefully finish more stuff and get it in front of people to start that all-important feedback loop.

Meanwhile, in the Sun…

As for Gronky and Pointy, I feel like I’ve lived with AMITS long enough that there’s no big surprises left – just a lot to execute on. If I can stay organised and find a good chunk of time every week to work on it (five hours a week minimum is a good pace), it’ll get done. It’ll probably be not the best, but at least it’ll be finished.

The day job may have other things to say about all of this, especially if I score the promotion I’ve been working towards and people keep departing, but we’ll see.

Happy New Year for 2018, and I hope the coming year treats you all well!

Categories
Blender Tutorials

How to Blender Conference: Quollism Bumper Edition!

Hi all! I’m not going to Blender Conference this year but I attended Blender Conference in 2014, 2015 and 2016. After reading Looch’s great article, I remembered I was planning to chuck in my own two cents on how to bconf!

Well, ok, more than just two cents. Here’s what’s helpful to know..

My first Blender Conference in 2014. Banner by Andy Goralczyk.

Blender Conference

The Blender Conference is scheduled to run Friday-Saturday-Sunday. This is just the presentations: in terms of hanging out with fellow Blenderheads, it’s potentially a Thursday night to Monday night kind of a deal. If you head over to De Balie on Thursday night, it’s almost guaranteed there will be a few earlybirds already there having drinks and being sociable. 🙂

By the way – if you have a project or other work to show off, keep it on you! I was working on a movie during the conferences I attended; I had a tablet and headphones so I could show a work-in-progress version and get valuable feedback on it from my fellow attendees.

Also If you’re stuck for a way to start a conversation with someone at the conference (e.g. on Friday morning while waiting for De Balie to open), ask them “So, what do you with Blender?”. Easiest ice-breaker in the world!

If you’re on Twitter, your official conference hashtag is

Events

On registering, you’ll be given a badge and a schedule, plus some other goodies. If you signed up for the Saturday dinner, your ticket for that will be included too. Don’t lose it!

As Looch said, once you get the conference program it’s good to plan out where you want to be. I like to circle my picks on the schedule with a pen and keep it in my pocket. 🙂

Ton Roosendaal giving the 2016 keynote.

The keynote and farewell with Ton are no-brainers – get a seat early if possible.

Definitely go to the Suzanne Awards on Friday night. Some films are in contention for an award, and some of them are secret exclusives just for conference attendees. There’s an early and a late screening. I’d recommend the late screening instead because the audience is a bit drunk/stoned and that’s more fun. Don’t forget to vote afterwards!

Definitely go to the lightning talks on Saturday evening. (If you’re giving a lightning talk, try not to go over five minutes!) Do not believe anyone who says they’ll definitely finish their single-person movie project in time for next year’s Suzanne Awards because they don’t know what the hell they’re talking about.

Aside from that, don’t feel compelled to be at a presentation for every single moment of the conference – the bonus of actually being at the conference is the opportunity to hang around and chat outside or upstairs. (Also, free sandwiches!)

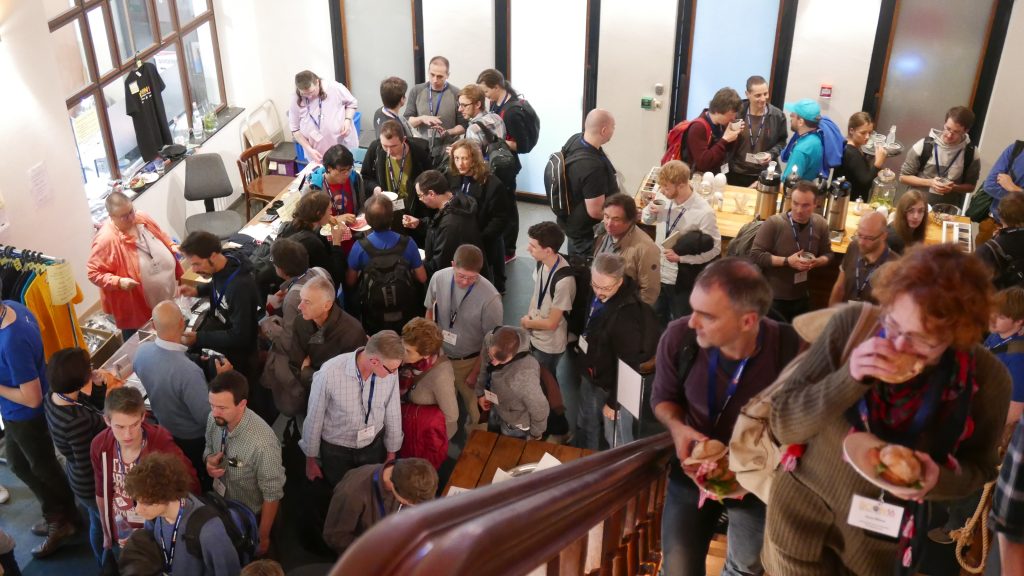
The real conference happens outside..

Definitely try to make it to a presentation that’s about something completely different from how you use Blender yourself. The lightning talks are good for that, but the more in-depth presentations are eye-opening as well. Blender gets used for all kinds of cool stuff you might not even know about!

Do be prepared to occasionally sit through a talk you’re not that interested in to make sure you’ve got a good seat for a popular talk that you _are_ interested in. Hjalti’s animation talk is often standing-room-only. 🙂

Definitely drop in for the Blender Insititute Open Day as well, even if you’re just popping in for a look. The conference is officially over by then so the Blender Institute folks are much more relaxed instead of running around making sure everything’s running smoothly.

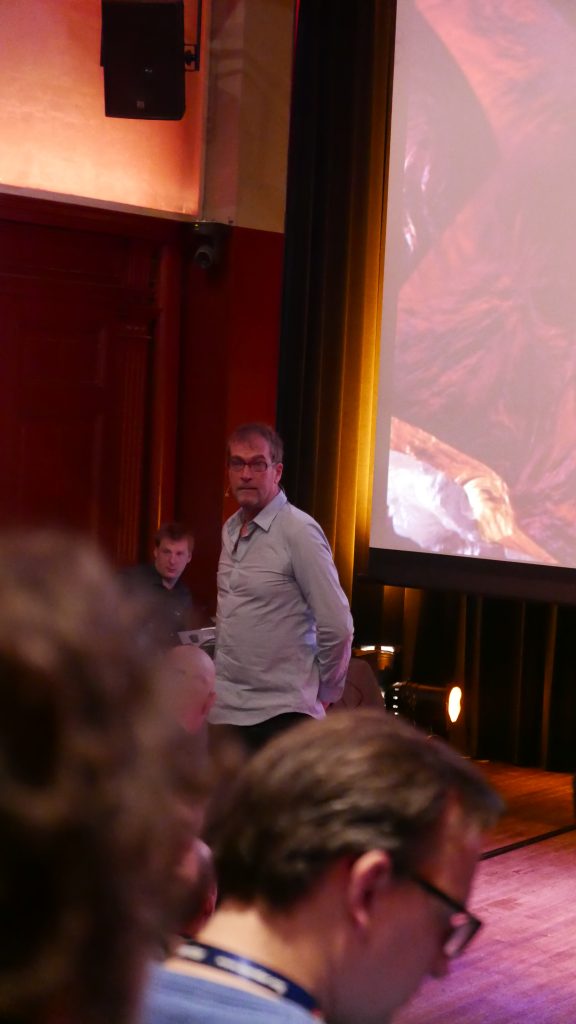
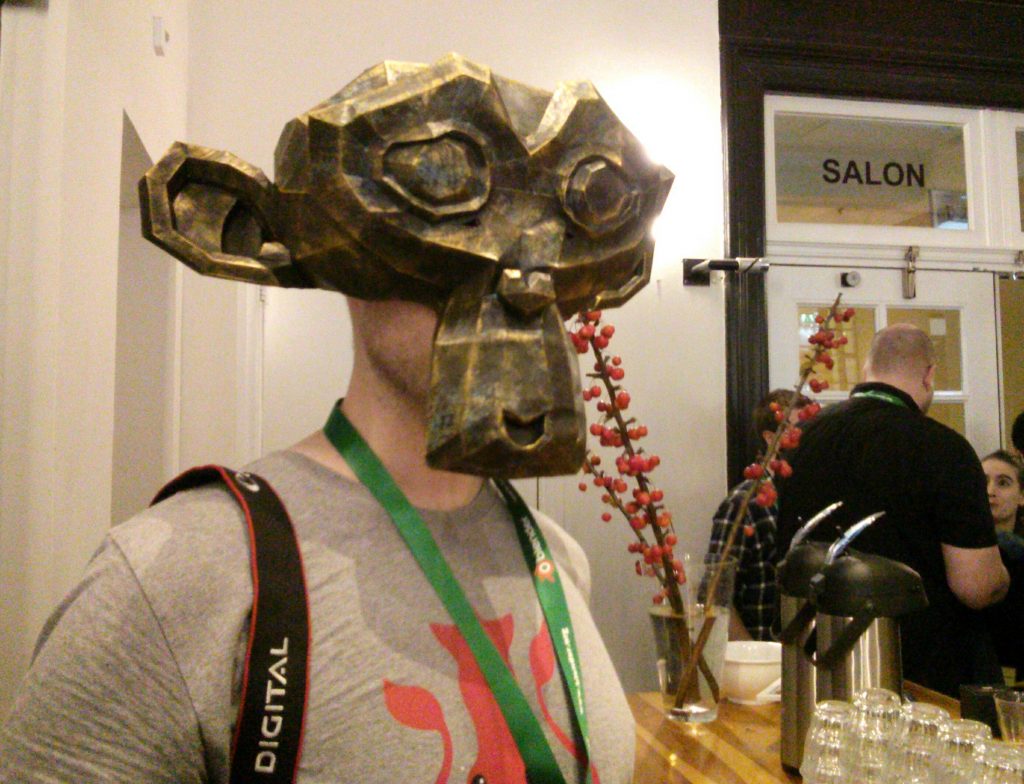
You may even run into this guy!

Transport

Negotiating the airport

Those flying in internationally through Schiphol may benefit from the following info.

Schiphol is big. There might be a long hike between your arrival gate and customs. If this is your first international flight, I suggest legging it to immigration as quick as your feet will let you. Have your passport ready and waiting. Fortunately, the Dutch immigration people are pretty cheerful and are the nicest first impression of any country I’ve ever had.

Once you get through immigration and customs, you’ll probably have people walking up to you and offering a taxi service. Brush them off, no matter how official their gear is. The proper taxis are outside at the taxi cab rank.

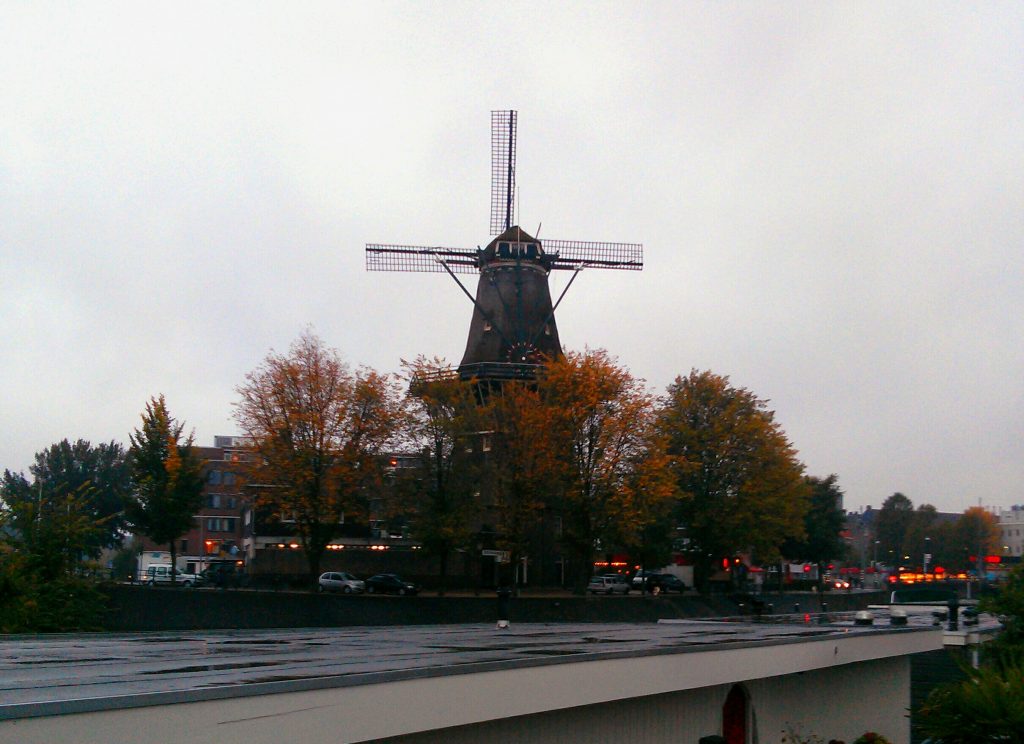
Windmill break! This is the windmill at Brouwerij ‘t IJ, much favoured by Blender Institute employees.

Also right outside immigration at customs, you can pick up a local pre-paid SIM with Lebara. They can pop out your old SIM and activate your new one on the spot. This is worth doing if you’re going to be out and about with Google/Apple Maps or using social media to coordinate meet-ups. Even if you’ve got international roaming on your phone, this might work out a lot cheaper depending on your carrier. Something to keep in mind!

Leaving the airport

Keep walking and you’ll eventually come to the entry hall. There you have the choice of turning left to go to the train station or turning right to find a cab. You should be able to see an automatic kiosk which will let you purchase an OV-kaart (a rechargeable Dutch public transport pass). If you’re going to be doing any sightseeing in Amsterdam or you need to use the trams or trains to get around, you want one of these. Cash or card is fine and you can flip the machine over to English if need be.

If you want to catch the train to Amsterdam Centraal, you’ll need at least twenty euro on your OV-kaart unless you’re paying for a one-off ticket.

There’s also an airport shuttle bus for 5 euros which might go past your hotel. Check ahead of time.

This is Dubai. Dubai is about eight hours from Amsterdam, just over halfway from home for me.

If you want to taxi it up to Amsterdam, you’re looking at around a 50 euro fare or thereabouts. (The way I see it: if you’re at the tail end of twenty hours of travelling and fighting off delirium, getting someone to drive you directly to the front door of your hotel is probably a good idea.) Shuffle past yet more dodgy taxi hawkers with your luggage and veer right to head outside. Follow the directions to the taxi cab rank. I like the Tesla taxis the best because they’re zippy as heck and can even use tram tracks as required. Noice!

Local transport

An amsterdam of bikes.

Amsterdam is a fantastic walking city and an even more fantastic bike city, but it can be a lot to take in at first! If you’re on foot, make sure you’re not accidentally standing in a bike lane like a tourist. Always keep an eye out for bikes, trams and cars. And take care not to fall into the canals!

If you’re doing some sightseeing and bikes are not for you, I highly recommend availing yourself of Amsterdam’s excellent tram system by getting the aforementioned OV-kaart and installing 9292.nl on your smartphone. The trams need you to have at least 5 euros of credit left on your card to use them. Heavy rail between cities requires 20 euros of credit.

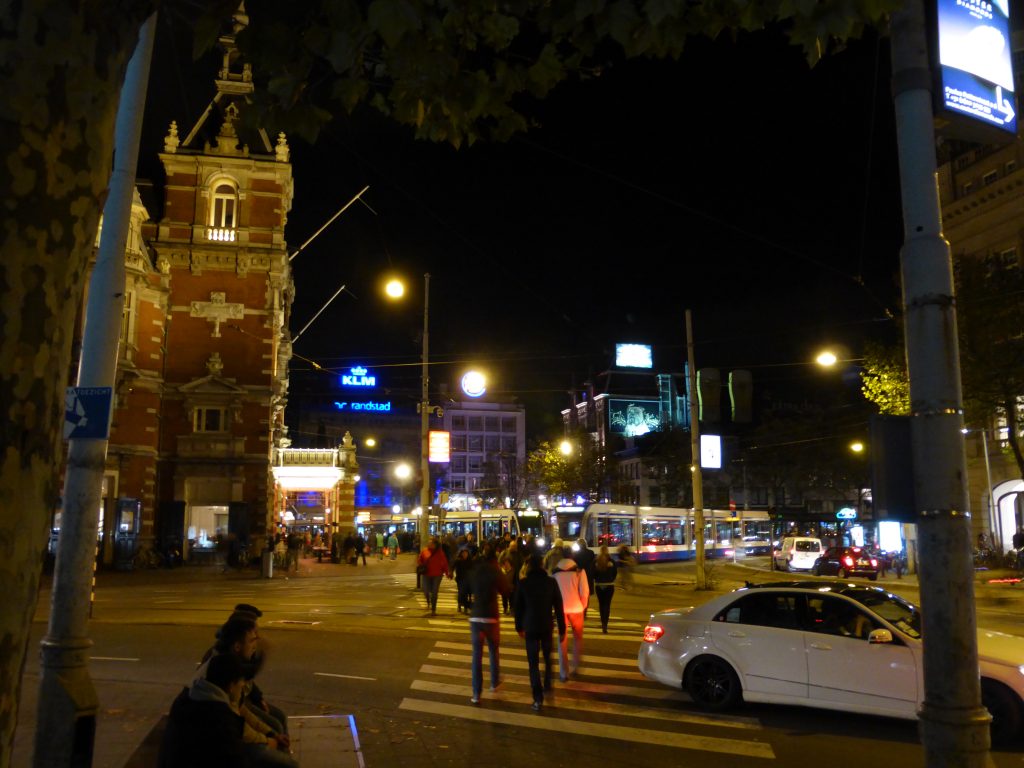
Leidseplein by night.

De Balie is just around the corner from a square called Leidseplein. The trams that run through Leidseplein are 1, 2, 5, 7 and 10. The 1, 2 and 5 all terminate north at Amsterdam Central Station, while the 7 and 10 run more east-west.

The Blender Institute building is on Entrepotdok. You can get from De Balie to the Institute a couple of ways. You can catch the number 10 tram directly from the Leidseplein stop, get off at Hoogte Kadijk, wave hello to the Windmill, backtrack the way you came past the service station, walk through the trees and head westwards up Entrepotdok until you see the Blender Institute logo.

You are here!

And since you’re in Amsterdam, you may as well know that the filming location for “Tears of Steel” is the northernmost bridge of Reguliersgracht where it intesects with Prinsengracht. Just don’t freak anyone out with your robot hand if you do go there. It might not end well. (The Oude Kerk where the movie “takes place” is up in the famous Red Light District, but that’s pretty easy to find.)

2015: Tiny Numbat is awesome in space!

Food and drink

First off: there’s coffee, tea and water at the conference. There’s also sandwiches for lunch. Yay, free stuff!

Leidseplein itself is an entertainment district with lots of restaurants, most of which are overpriced tourist traps. On any night of the conference, people peel off in packs to grab dinner. It’s good to follow the lead of people who know the area and therefore know which places are good to eat at. Expect to be constantly invited in by hawkers/spruikers, and don’t feel bad about brushing them off.

A cheap option: vlaamse frites! (Flemish chips) – and yes, that is dipping mayonnaise just like “Pulp Fiction” said.

Dinnerwise, have maybe twenty euro in bills and change to pitch in for the cost of your meal. Tipping is optional. If you’re short on cash, there’s a blue ATM/cashpoint which accepts credit cards on Leidsestraat across from the newsagent.

Said newsagent is also the closest source of cheap-ish Red Bull that I’ve found to De Balie. It also has an OV-kaart recharger in the back. The closest really good coffee I’ve found is at a place called “Sweet Cup”, down Lange Leidsedwarstraat.

I don’t drink so I have no idea where there’s a good pub. I also don’t smoke cannabis so I don’t have any recommendations for a nice gezellig coffeeshop either. 🙂

Local tasty things to eat include stroopwafels and poffertjes.

Be on the lookout for small plastic marsupials when enjoying poffertjes..

Language

English. Seriously. Everyone in Amsterdam speaks English.

Careful of those horens!

The only reason to actually learn Dutch as a tourist is to eavesdrop on people or for pronouncing placenames. “Oe” is pronounced “oo”, “oo” is pronounced like “aww”, “ij” and “ei” are pronounced something like “eye” or “ay” depending on your accent, “ui” is pronounced something like “ow”, “r” is pronounced “GHHHH” and “g” is pronounced something like “KHHHHHHH”. Don’t try to pronounce “Ruigoord” without adult supervision.

“Alstublieft” means either “please” (e.g. “spa rood, alstublieft”) or is said when handing something over. “Dank u wel” means “thank you very much” to someone you don’t know; “dank je wel” is for someone you’re more familiar with.

If you really want to learn Dutch for some reason, Duolingo has a Dutch course.

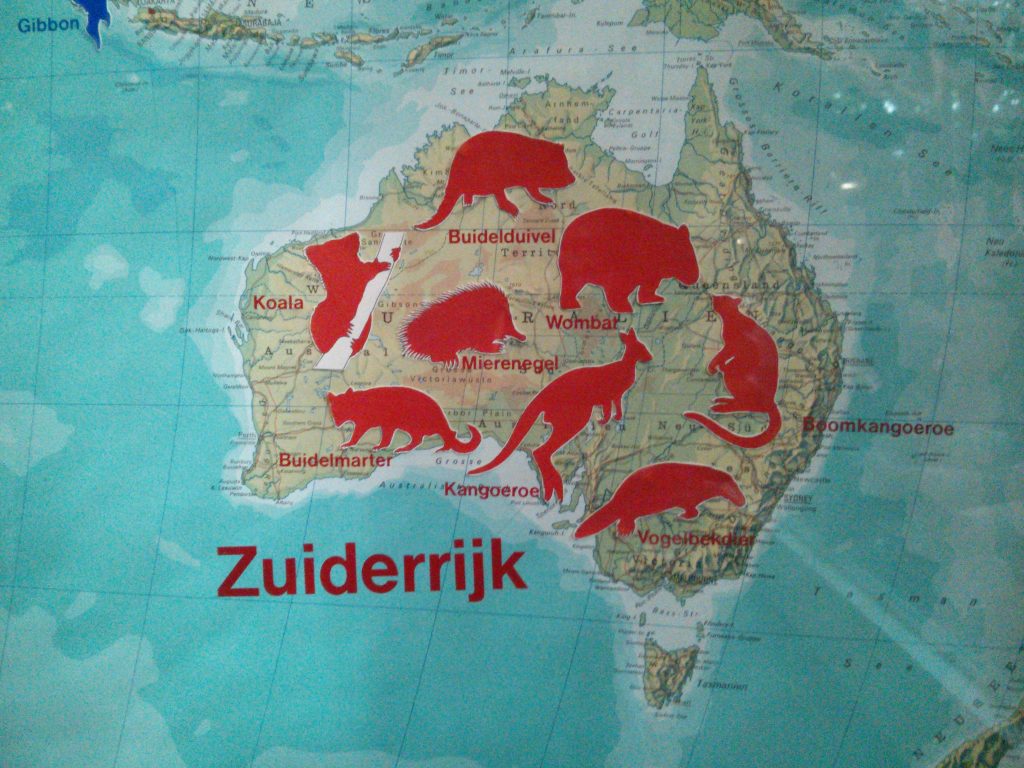
Literal non-obvious translations from top to bottom: pouch-devil, ant-hedgehog, tree-kangaroo, pouch-marten, bird-beak-animal.

That’s it

May the 2017 Blender Conference is the best one yet and hopefully I’ll be up there again myself again before too long! Tot ziens!