The Music Thing Modular Chord Organ is a digital chord player for Eurorack. It is inspired by instruments like the Bontempi Organ where you press a button and get a chord. It’s also one of the cheapest ways to get polyphony in Eurorack.
The default chords didn’t do much for me though because I like jazzy chords! I came up with a quick palette of five-note chords which derive from some common musical scales. So if you’ve got your own Chord Organ and want to get jazzy, copy and paste this into the Chord Organ Config Generator, save it to your SD card and enjoy!
1 [0,4,7,9,14] major 6-9 chord
2 [0,4,7,11,16] major seventh
3 [0,3,7,10,15] minor seventh
4 [0,4,7,10,16] seventh
5 [0,3,6,10,15] minor seventh flat fifth
6 [0,3,7,11,15] minor major seventh
7 [0,3,6,9,15] diminished seventh
8 [0,4,8,11,16] major seventh sharp fifth
9 [0,3,7,9,14] minor 6-9 chord
10 [0,4,8,10,16] seventh sharp fifth
11 [0,4,6,10,16] seventh flat fifth
12 [0,4,8,12,16] augmented triad
13 [0,2,7,10,14] seventh suspended second
14 [0,5,7,10,14] ninth suspended fourth
15 [0,5,7,10,17] seventh suspended fourth
16 [0,7,12,0,7] fifth
If you haven’t got a Chord Organ but you’re a Euroracker and you want one, Thonk sells Chord Organ kits. It’s pretty easy to build too! And if you don’t know the first thing about jazz or music theory, have a play with them anyway. 🙂
The music theory parts for people who aren’t nauseated or enraged by music theory
The scales are the major, natural minor, harmonic minor, melodic minor and whole tone scales. There’s a couple of six-nine chords and suspended sevenths thrown in there to make up the sixteen. Each chord is voiced with five notes with the high note representing the tonality (minor, major or suspended). There’s a fifth right at the end in case the jazziness gets too much.
The relationship between chords and scales is useful to know because of the way chords reveal their originating scales four notes at a time. If you stick with chords 2 to 5, no matter what notes you play, you get a noticeably different harmonic colour from chords 3-10.
Here’s the scales which the chords belong to:
major and natural minor scale seventh chords: 2 3 4 5 13 14 15harmonic minor scale seventh chords: 4 5 6 7 8 10melodic minor scale seventh chords: 3 4 5 6 8whole tone scale seventh chords: 11 12
The whole tone scale is symmetrical so chords 10 11 and 12 work fine from any degree of the scale. And there’s probably some other jazz scales those chords fit into as well.
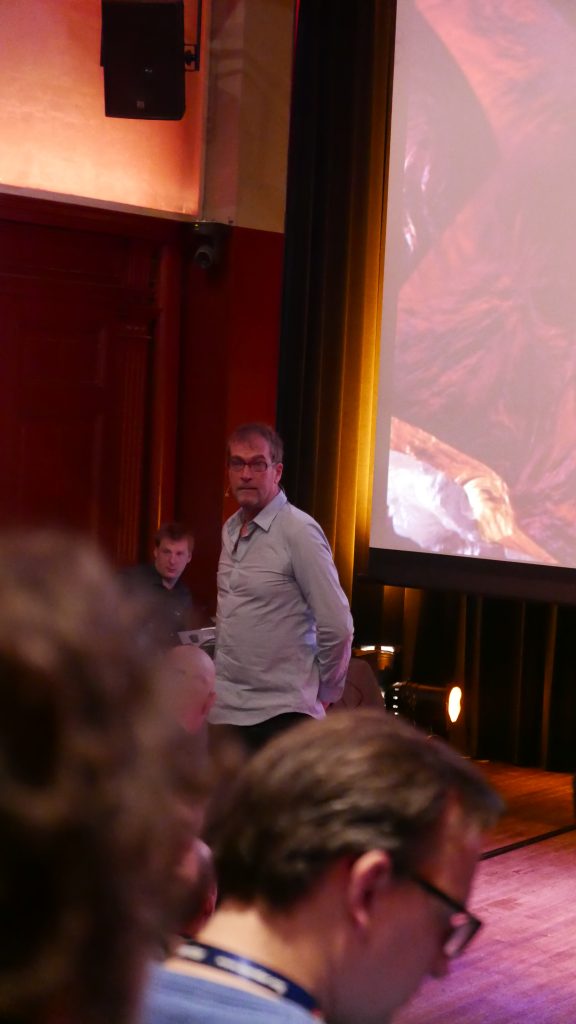
Hi all! I’m not going to Blender Conference this year but I attended Blender Conference in 2014, 2015 and 2016. After reading Looch’s great article, I remembered I was planning to chuck in my own two cents on how to bconf!
Well, ok, more than just two cents. Here’s what’s helpful to know..
My first Blender Conference in 2014. Banner by Andy Goralczyk.
Blender Conference
The Blender Conference is scheduled to run Friday-Saturday-Sunday. This is just the presentations: in terms of hanging out with fellow Blenderheads, it’s potentially a Thursday night to Monday night kind of a deal. If you head over to De Balie on Thursday night, it’s almost guaranteed there will be a few earlybirds already there having drinks and being sociable. 🙂
By the way – if you have a project or other work to show off, keep it on you! I was working on a movie during the conferences I attended; I had a tablet and headphones so I could show a work-in-progress version and get valuable feedback on it from my fellow attendees.
Also If you’re stuck for a way to start a conversation with someone at the conference (e.g. on Friday morning while waiting for De Balie to open), ask them “So, what do you with Blender?”. Easiest ice-breaker in the world!
If you’re on Twitter, your official conference hashtag is #bcon17
Events
On registering, you’ll be given a badge and a schedule, plus some other goodies. If you signed up for the Saturday dinner, your ticket for that will be included too. Don’t lose it!
As Looch said, once you get the conference program it’s good to plan out where you want to be. I like to circle my picks on the schedule with a pen and keep it in my pocket. 🙂
Ton Roosendaal giving the 2016 keynote.
The keynote and farewell with Ton are no-brainers – get a seat early if possible.
Definitely go to the Suzanne Awards on Friday night. Some films are in contention for an award, and some of them are secret exclusives just for conference attendees. There’s an early and a late screening. I’d recommend the late screening instead because the audience is a bit drunk/stoned and that’s more fun. Don’t forget to vote afterwards!
Definitely go to the lightning talks on Saturday evening. (If you’re giving a lightning talk, try not to go over five minutes!) Do not believe anyone who says they’ll definitely finish their single-person movie project in time for next year’s Suzanne Awards because they don’t know what the hell they’re talking about.
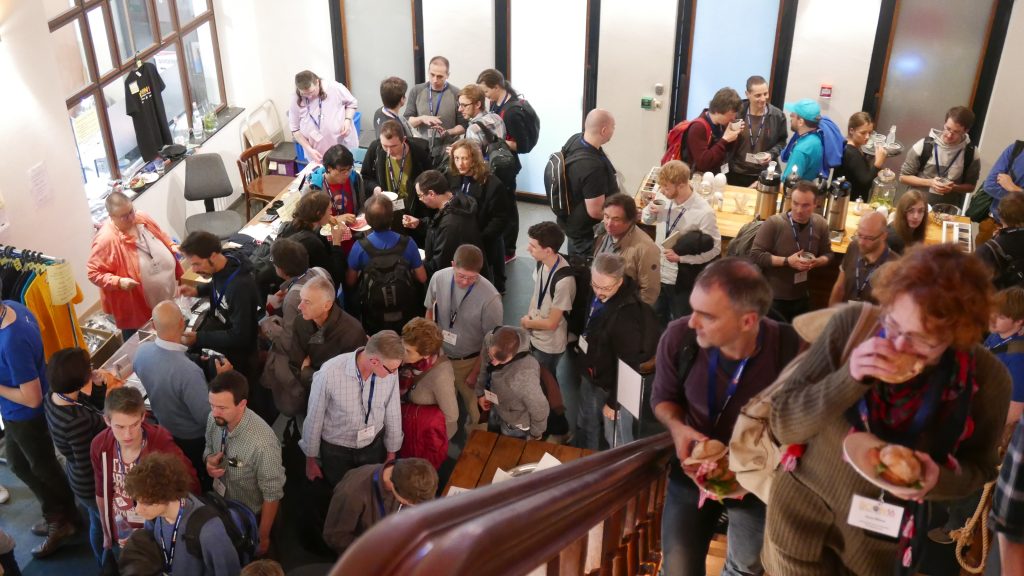
Aside from that, don’t feel compelled to be at a presentation for every single moment of the conference – the bonus of actually being at the conference is the opportunity to hang around and chat outside or upstairs. (Also, free sandwiches!)
The real conference happens outside..
Definitely try to make it to a presentation that’s about something completely different from how you use Blender yourself. The lightning talks are good for that, but the more in-depth presentations are eye-opening as well. Blender gets used for all kinds of cool stuff you might not even know about!
Do be prepared to occasionally sit through a talk you’re not that interested in to make sure you’ve got a good seat for a popular talk that you _are_ interested in. Hjalti’s animation talk is often standing-room-only. 🙂
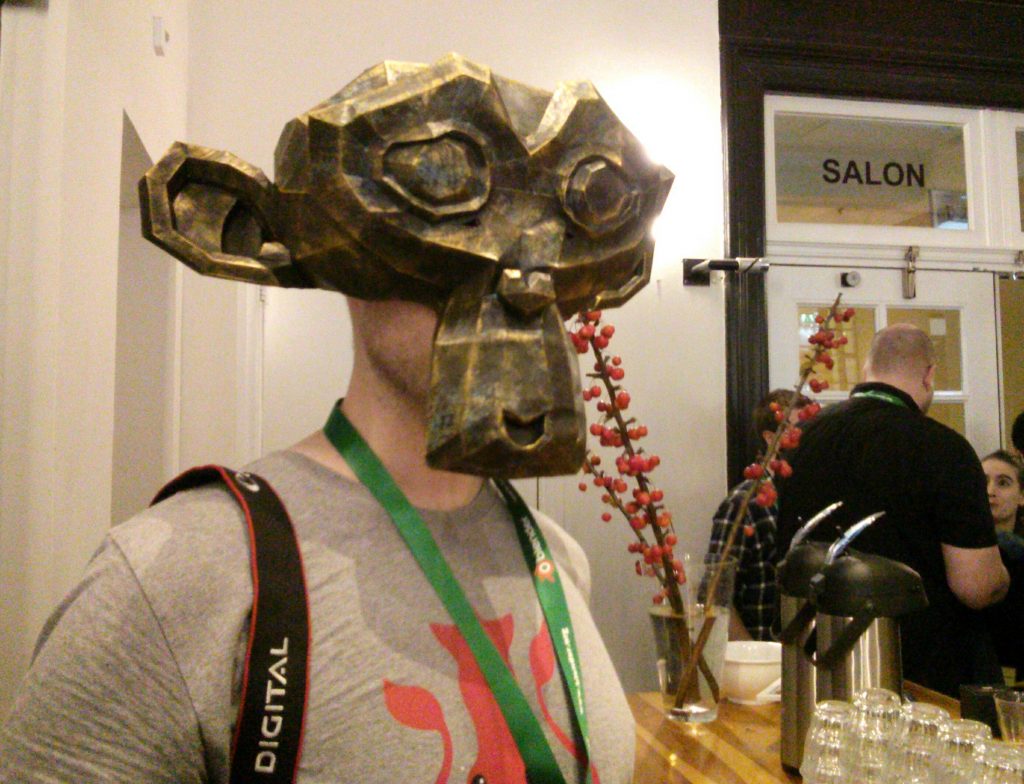
Definitely drop in for the Blender Insititute Open Day as well, even if you’re just popping in for a look. The conference is officially over by then so the Blender Institute folks are much more relaxed instead of running around making sure everything’s running smoothly.
You may even run into this guy!
Transport
Negotiating the airport
Those flying in internationally through Schiphol may benefit from the following info.
Schiphol is big. There might be a long hike between your arrival gate and customs. If this is your first international flight, I suggest legging it to immigration as quick as your feet will let you. Have your passport ready and waiting. Fortunately, the Dutch immigration people are pretty cheerful and are the nicest first impression of any country I’ve ever had.
Once you get through immigration and customs, you’ll probably have people walking up to you and offering a taxi service. Brush them off, no matter how official their gear is. The proper taxis are outside at the taxi cab rank.
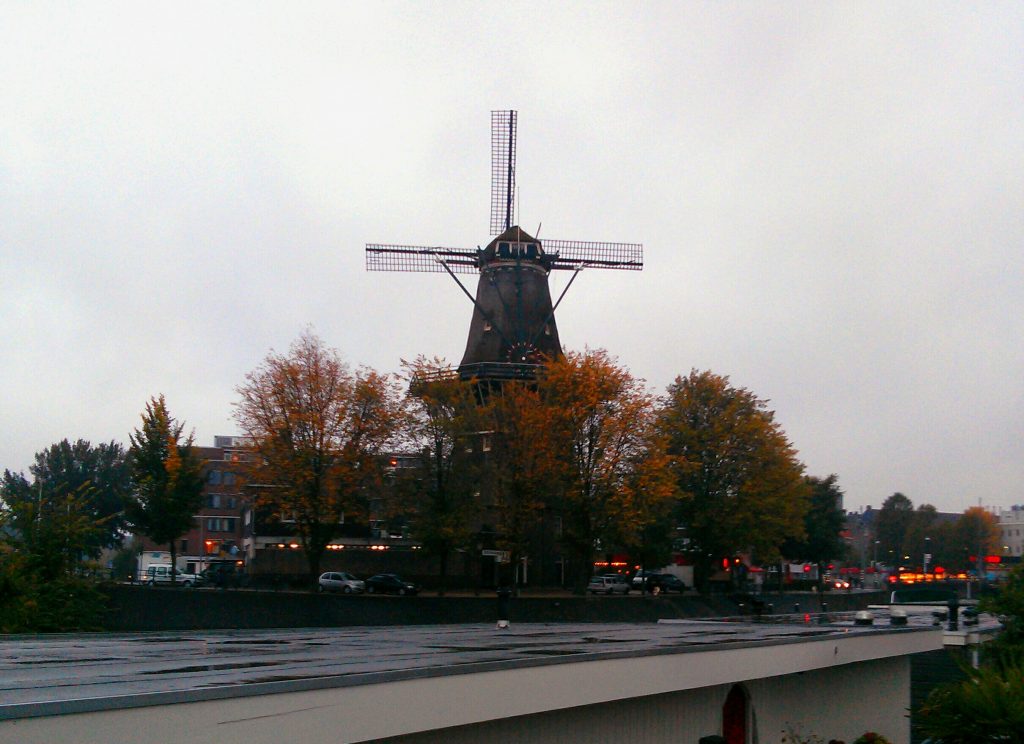
Windmill break! This is the windmill at Brouwerij ‘t IJ, much favoured by Blender Institute employees.
Also right outside immigration at customs, you can pick up a local pre-paid SIM with Lebara. They can pop out your old SIM and activate your new one on the spot. This is worth doing if you’re going to be out and about with Google/Apple Maps or using social media to coordinate meet-ups. Even if you’ve got international roaming on your phone, this might work out a lot cheaper depending on your carrier. Something to keep in mind!
Leaving the airport
Keep walking and you’ll eventually come to the entry hall. There you have the choice of turning left to go to the train station or turning right to find a cab. You should be able to see an automatic kiosk which will let you purchase an OV-kaart (a rechargeable Dutch public transport pass). If you’re going to be doing any sightseeing in Amsterdam or you need to use the trams or trains to get around, you want one of these. Cash or card is fine and you can flip the machine over to English if need be.
If you want to catch the train to Amsterdam Centraal, you’ll need at least twenty euro on your OV-kaart unless you’re paying for a one-off ticket.
There’s also an airport shuttle bus for 5 euros which might go past your hotel. Check ahead of time.
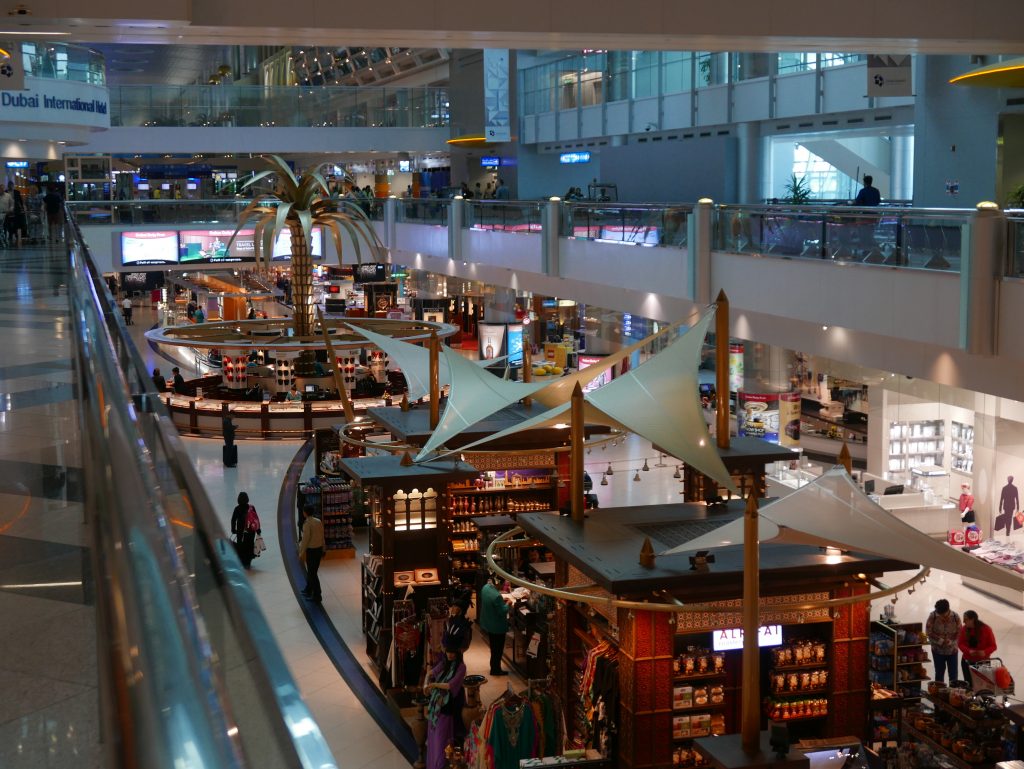
This is Dubai. Dubai is about eight hours from Amsterdam, just over halfway from home for me.
If you want to taxi it up to Amsterdam, you’re looking at around a 50 euro fare or thereabouts. (The way I see it: if you’re at the tail end of twenty hours of travelling and fighting off delirium, getting someone to drive you directly to the front door of your hotel is probably a good idea.) Shuffle past yet more dodgy taxi hawkers with your luggage and veer right to head outside. Follow the directions to the taxi cab rank. I like the Tesla taxis the best because they’re zippy as heck and can even use tram tracks as required. Noice!
Local transport
An amsterdam of bikes.
Amsterdam is a fantastic walking city and an even more fantastic bike city, but it can be a lot to take in at first! If you’re on foot, make sure you’re not accidentally standing in a bike lane like a tourist. Always keep an eye out for bikes, trams and cars. And take care not to fall into the canals!
If you’re doing some sightseeing and bikes are not for you, I highly recommend availing yourself of Amsterdam’s excellent tram system by getting the aforementioned OV-kaart and installing 9292.nl on your smartphone. The trams need you to have at least 5 euros of credit left on your card to use them. Heavy rail between cities requires 20 euros of credit.
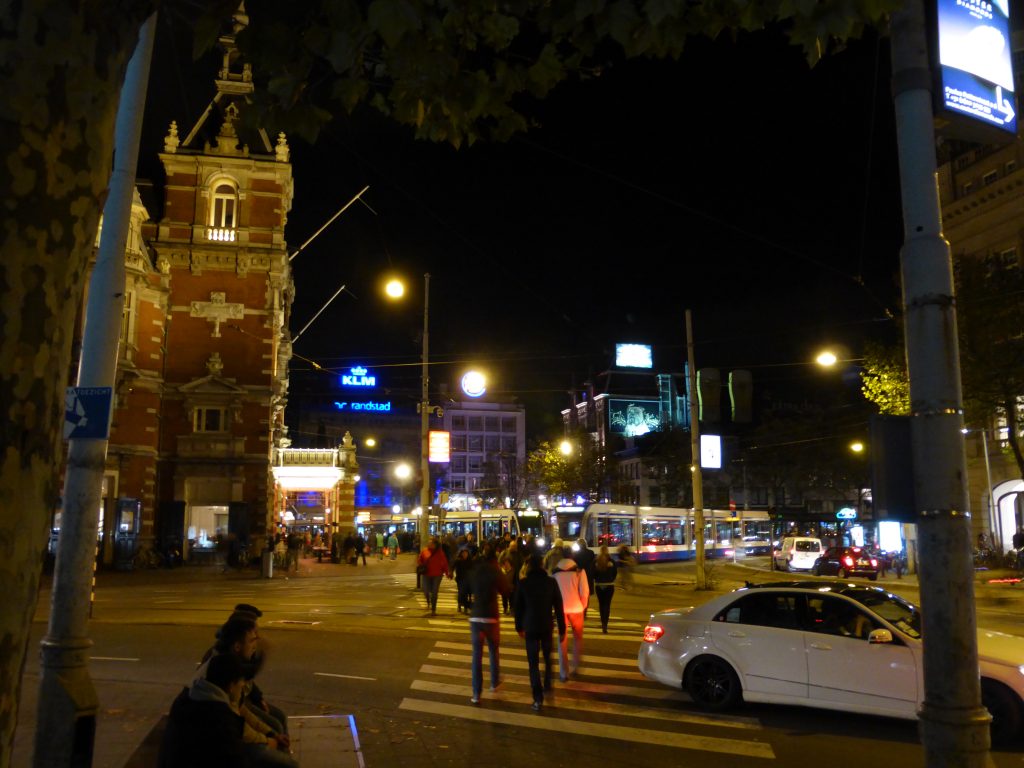
Leidseplein by night.
De Balie is just around the corner from a square called Leidseplein. The trams that run through Leidseplein are 1, 2, 5, 7 and 10. The 1, 2 and 5 all terminate north at Amsterdam Central Station, while the 7 and 10 run more east-west.
The Blender Institute building is on Entrepotdok. You can get from De Balie to the Institute a couple of ways. You can catch the number 10 tram directly from the Leidseplein stop, get off at Hoogte Kadijk, wave hello to the Windmill, backtrack the way you came past the service station, walk through the trees and head westwards up Entrepotdok until you see the Blender Institute logo.
You are here!
And since you’re in Amsterdam, you may as well know that the filming location for “Tears of Steel” is the northernmost bridge of Reguliersgracht where it intesects with Prinsengracht. Just don’t freak anyone out with your robot hand if you do go there. It might not end well. (The Oude Kerk where the movie “takes place” is up in the famous Red Light District, but that’s pretty easy to find.)
2015: Tiny Numbat is awesome in space!
Food and drink
First off: there’s coffee, tea and water at the conference. There’s also sandwiches for lunch. Yay, free stuff!
Leidseplein itself is an entertainment district with lots of restaurants, most of which are overpriced tourist traps. On any night of the conference, people peel off in packs to grab dinner. It’s good to follow the lead of people who know the area and therefore know which places are good to eat at. Expect to be constantly invited in by hawkers/spruikers, and don’t feel bad about brushing them off.
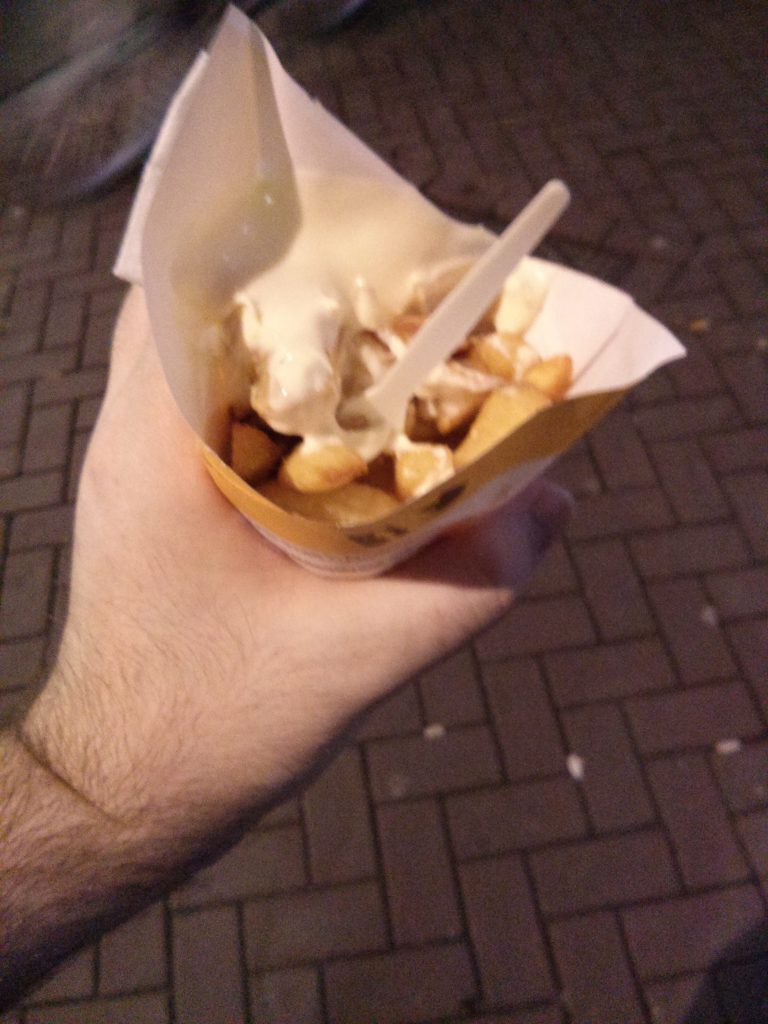
A cheap option: vlaamse frites! (Flemish chips) – and yes, that is dipping mayonnaise just like “Pulp Fiction” said.
Dinnerwise, have maybe twenty euro in bills and change to pitch in for the cost of your meal. Tipping is optional. If you’re short on cash, there’s a blue ATM/cashpoint which accepts credit cards on Leidsestraat across from the newsagent.
Said newsagent is also the closest source of cheap-ish Red Bull that I’ve found to De Balie. It also has an OV-kaart recharger in the back. The closest really good coffee I’ve found is at a place called “Sweet Cup”, down Lange Leidsedwarstraat.
I don’t drink so I have no idea where there’s a good pub. I also don’t smoke cannabis so I don’t have any recommendations for a nice gezellig coffeeshop either. 🙂
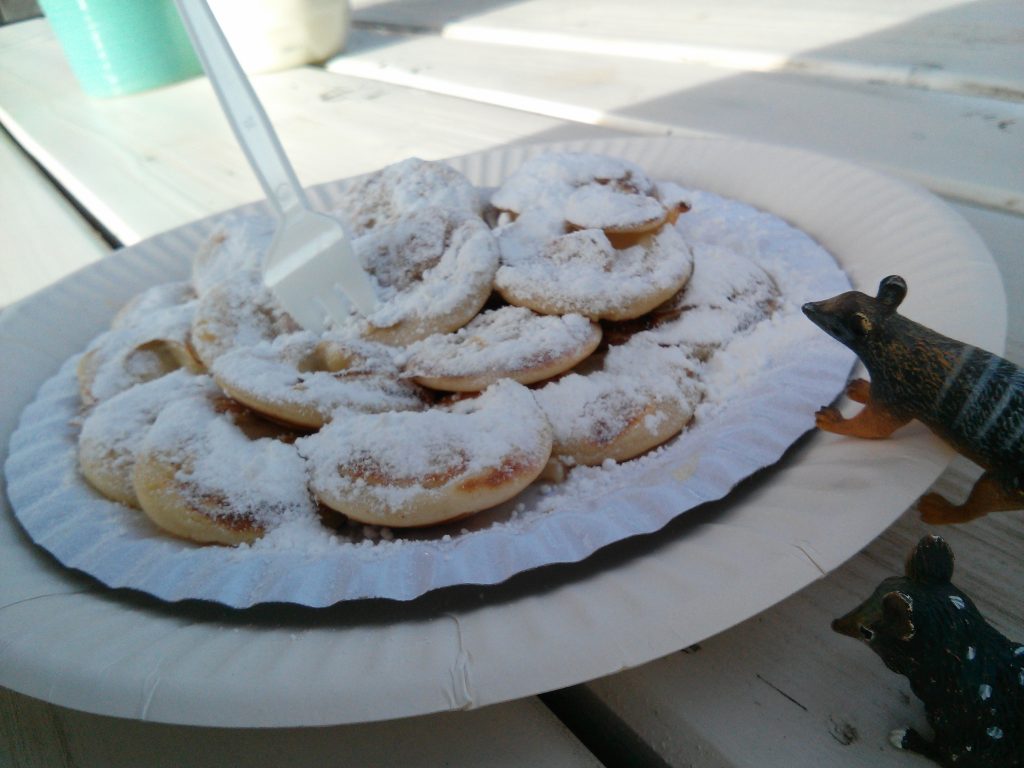
Local tasty things to eat include stroopwafels and poffertjes.
Be on the lookout for small plastic marsupials when enjoying poffertjes..
Language
English. Seriously. Everyone in Amsterdam speaks English.
Careful of those horens!
The only reason to actually learn Dutch as a tourist is to eavesdrop on people or for pronouncing placenames. “Oe” is pronounced “oo”, “oo” is pronounced like “aww”, “ij” and “ei” are pronounced something like “eye” or “ay” depending on your accent, “ui” is pronounced something like “ow”, “r” is pronounced “GHHHH” and “g” is pronounced something like “KHHHHHHH”. Don’t try to pronounce “Ruigoord” without adult supervision.
“Alstublieft” means either “please” (e.g. “spa rood, alstublieft”) or is said when handing something over. “Dank u wel” means “thank you very much” to someone you don’t know; “dank je wel” is for someone you’re more familiar with.
If you really want to learn Dutch for some reason, Duolingo has a Dutch course.
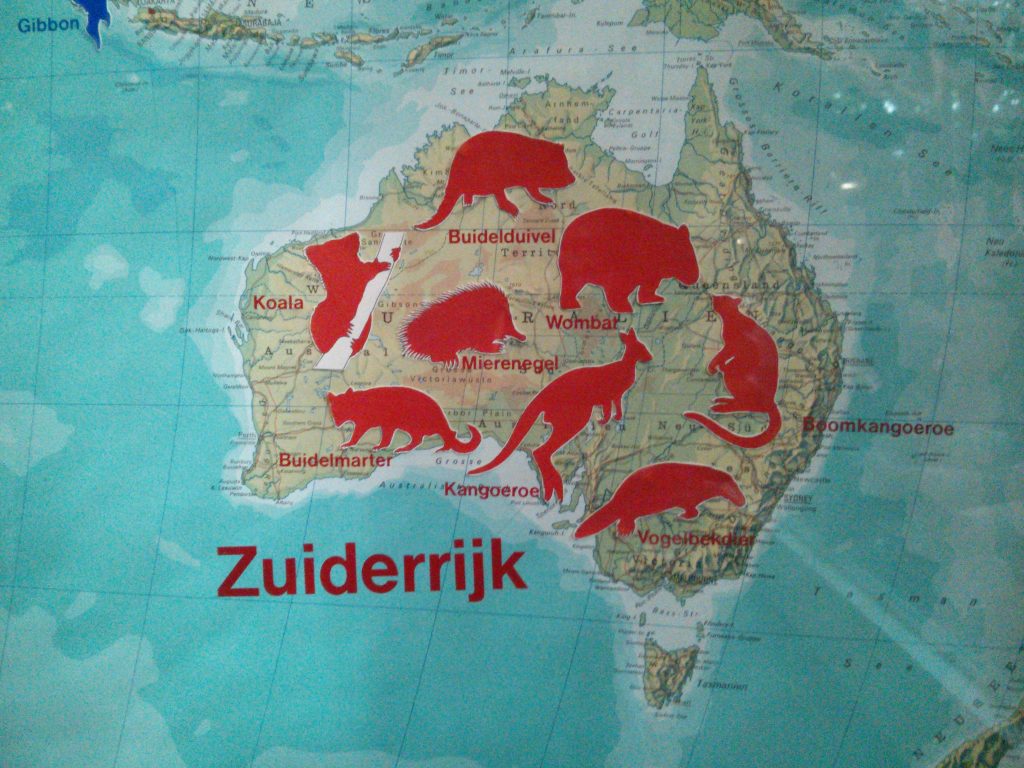
Literal non-obvious translations from top to bottom: pouch-devil, ant-hedgehog, tree-kangaroo, pouch-marten, bird-beak-animal.
That’s it
May the 2017 Blender Conference is the best one yet and hopefully I’ll be up there again myself again before too long! Tot ziens!
It’s been 9 to 15 July 2017. I don’t have anything close to a preview of Shot 3 yet – it’s been a week of lost evenings, product releases at the day job, visits from interstate and a pressing need for rest. Shot 3 and its bird/cactus japery is just going to take a while longer and that’s that.
Someone asked how I did the “zip” (smear) effect in Shot 2 and whether I used motion blur. I didn’t! It’s just extreme scaling on a few single frames.
Here’s the shot in motion (again):
ALL HAIL THE PYRAMID (again)
And here’s stills of the smear frames where the head monk appears.
Frame 73 – monk entersFrame 74 – monk ascends
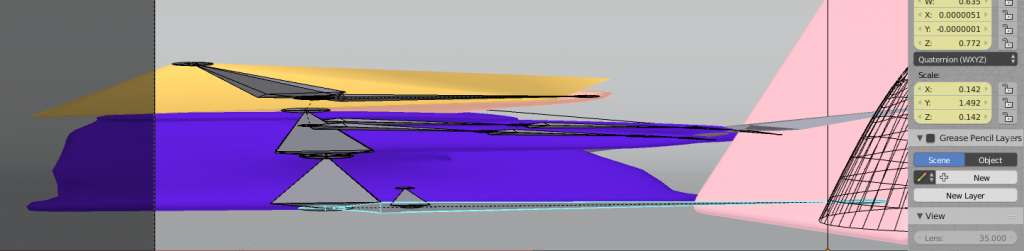
Here’s a screengrab from Blender:
The highlighted bone is the base bone. It is quite stretched.
The X and Z scale values are both 0.142 because I built the base character much bigger than it ended up being in the final scene, so I had to scale it down. The Y scale value is 1.492, over ten times the value of X and Z. This distorts the rig considerably along the length of the base bone.
This means the character covers a lot of the screen, and in a single frame I can draw the attention of the audience to what this little purple guy is up to. It ups the cartooniness, it strengthens the staging, and as long as the zip frames are spaced so that they have obvious visual continuity (i.e. no large spatial gap from one frame to the next), it’s a lot of impact for not very much time spent.
If I’d had more time, I’d have added a frame where the monk is distorted in more of a curve to follow the contour of the ground rising up into the pyramid, but it’s fine without it. (Next time for sure!)
There can be no discussion of smears and zips and such without linking a certain Chuck Jones short which is chock full of great smear effects. Who needs motion blur?
I’ve been playing lots of Far Cry Primal since it came out last week. It’s been jolly good fun tooling around the Stone Age on Easy difficulty, lobbing spears and cave bears and bees at conveniently colour-coded baddies.
A Moment In The Sun meanwhile is back in active development. I’ve written a much tighter synopsis along with some handy character rules that should help keep me on track. Easter’s coming up weekend after next (not next weekend, derp), so if I get my act together I’ll have a good run of days for doing some rough layout. 🙂
There’s two animated shows in particular whose feel I like for AMITS, both kids’ shows – Pocoyo and Kaeloo. I’ve recorded both of them off free to air TV down here but I end up with WTV files. Neither VLC nor Blender load WTV files natively, and WTV files (here in Australia at least) are also stupidly big because our digital TV broadcasters are still using old inefficient codecs to maintain compatibility with old hardware.
Anyway, here’s a mini-tutorial on turning WTV files into MP4 files using open source software. Mainly writing this so I don’t forget the commands for FFmpeg or the keystrokes for Avidemux. 🙂
Step 1: Record your show using Windows Media Center (sp). Make sure you’ve got a buffer of around 5 minutes either side of the show starting and finishing because TV schedules are not exact. Free-to-air TV in Australia doesn’t apply any kinds of extra DRM – other countries may vary. You will end up with a stupidly big file.
Start the FFMpeg shell batch file. You will get a DOS prompt. Don’t be scared.
Change directory to where your recordings are, so cd C:Recorded TV by default.
Execute the following command: ffmpeg -i tvshow.wtv -strict -2 -deinterlace tvshow.mp4
There is a way to batchconvert a whole directory using a single line of code – sadly, * doesn’t work. Personally I cheat by booting into Linux and using bash. 🙂
Once FFMpeg is going, wait a bit. It will do Things.
You will have a file which is much smaller but about the same quality.
Step 3 – topping and tailingunwanted bitswithout recompressing. For this you’ll need Avidemux. Manipulating the MP4 stream directly means there’s no extra quality lost through recompression. Also Avidemux is much quicker to use with hotkeys instead of clicking icons.
Load your fresh new MP4 into Avidemux.
Keep hitting the up arrow key until you can see your show starting. Press [ to mark the in point.
Hit the up arrow key some more until your show ends. Hit down arrow if it skips past the end of the show. Find the keyrame closest to after the program ends then keep hitting left arrow key until you’re at the last frame of the show. Hit ] to mark the out point.
Choose your Output format (AVI or MP4 is fine), then hit Ctrl-S to Save!
You will now have a nice small file with just the bits you want. Mostly.
Having done all that, I can then pull the video into Blender’s Video Sequence Editor and examine it frame by frame to learn precious animation secrets… mm… secrets..
You could also use Avidemuxer for datamoshing too. 🙂
It’s here! In this tutorial, I go over Blender’s “Bake Sound to F-Curves” function and some of its options, demonstrate ways of using the resulting data within objects and armatures, and provide a whirlwind tour of the audio spectrum.
The second half of the tutorial shows you how to identify and extract data from specific frequencies in order to make a drummer armature play the drums using automatically triggered actions – no need to keyframe each individual hit or even open the NLA Editor!
Software you’ll need to follow along at home: Blender 2.70 or higher, Audacity or any DAW.